A Few Projects from 2016 by Ty Howard

I think it is always a good idea to look back on your previous work to see how far you have come and what you can improve on. 2016 is when Howard Built LLC was officially launched, and I had multiple memorable projects throughout the year. At the time, I was working out of a large quonset hut just outside of Boise in Garden City, Idaho. There are many great memories of working late into the night to get orders fulfilled and pieces completed. Now I am thankful to say I have a home with a shop right on the property. 

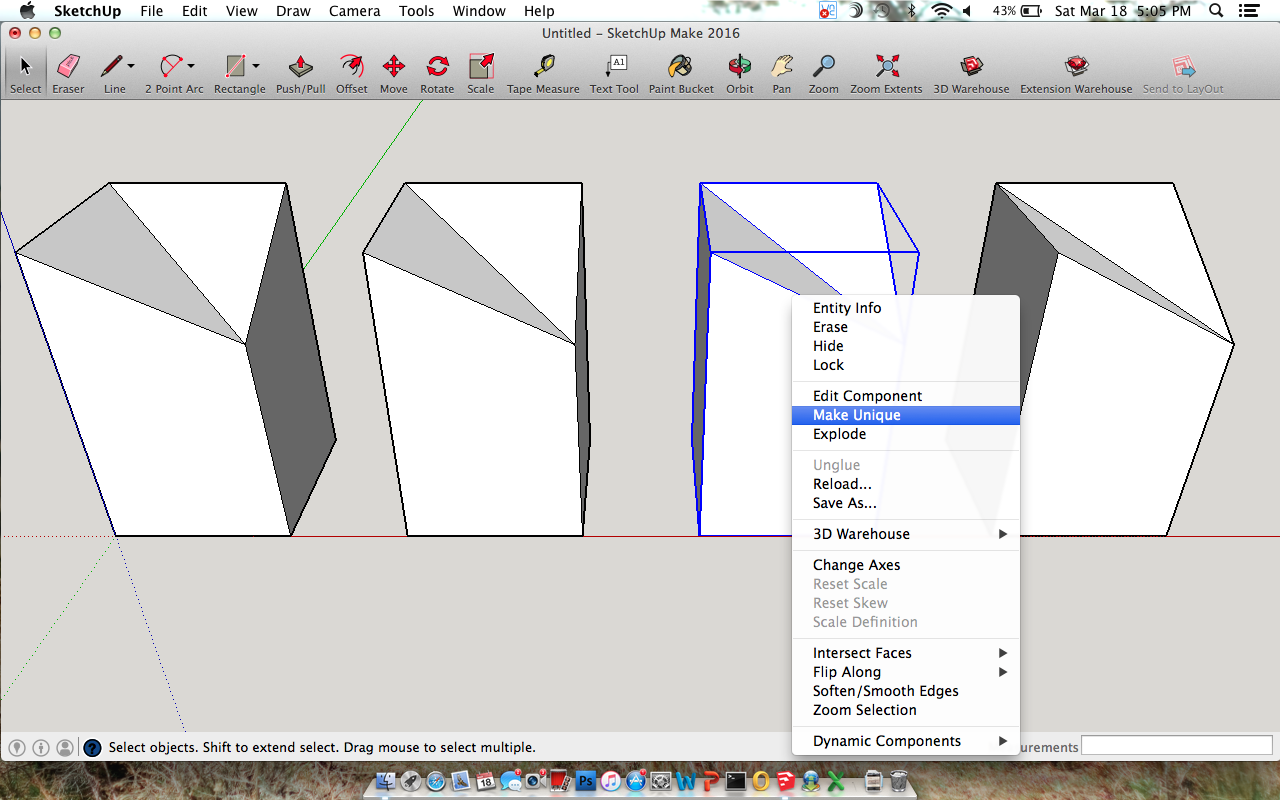
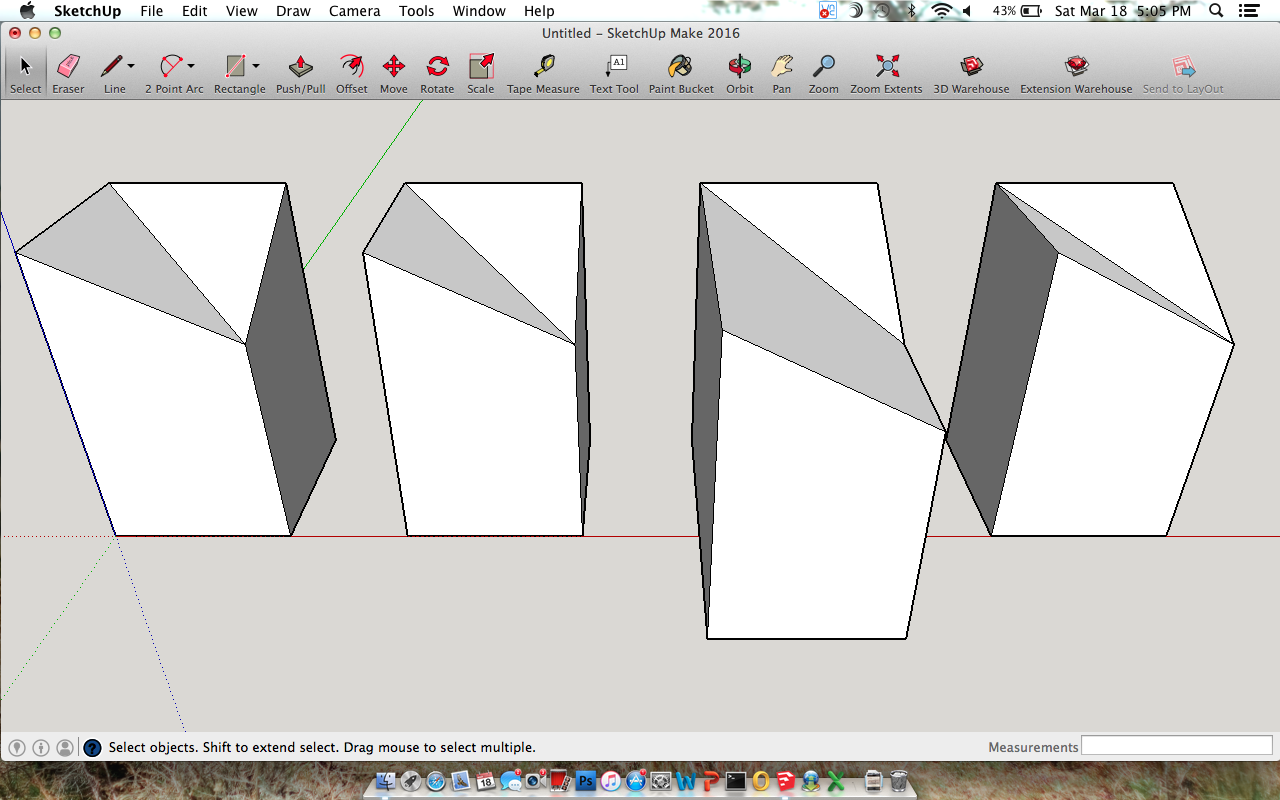
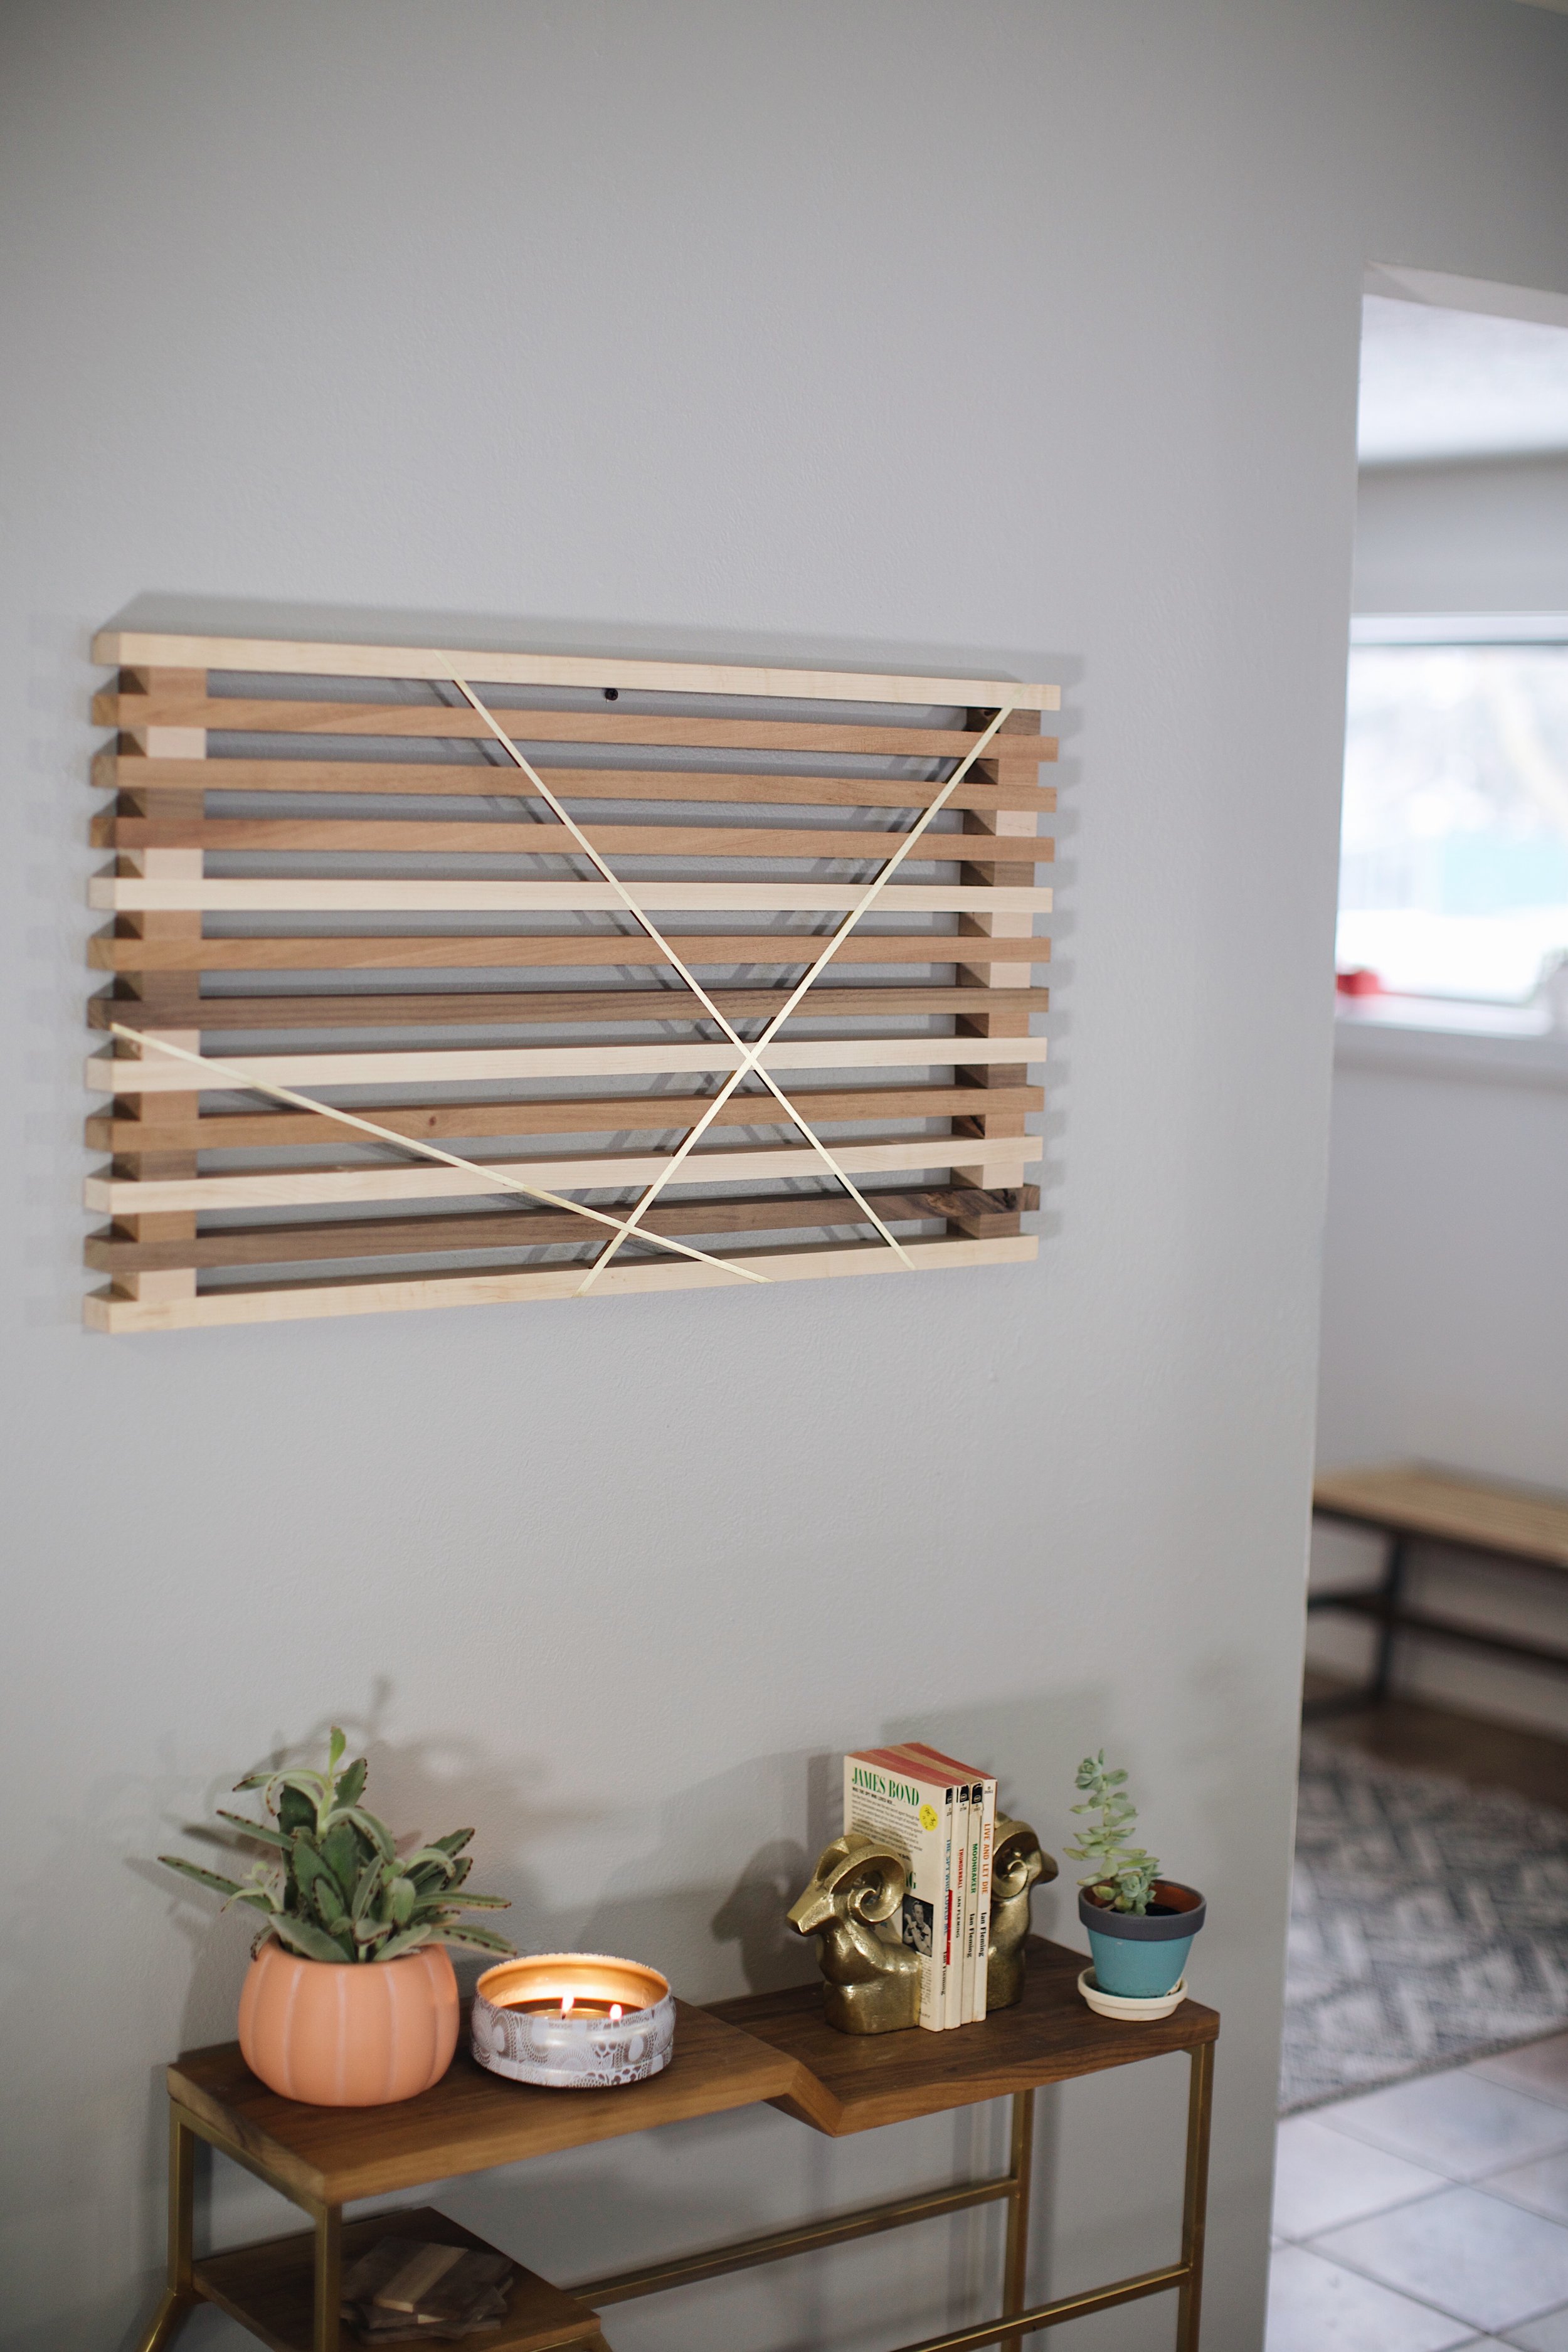
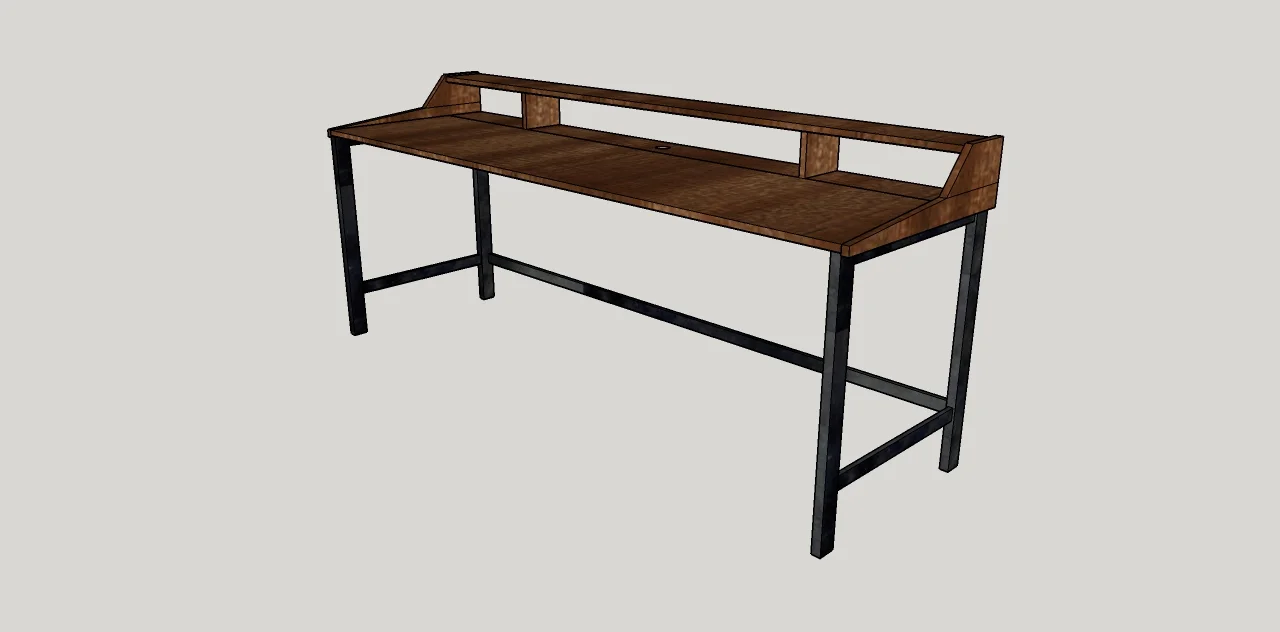
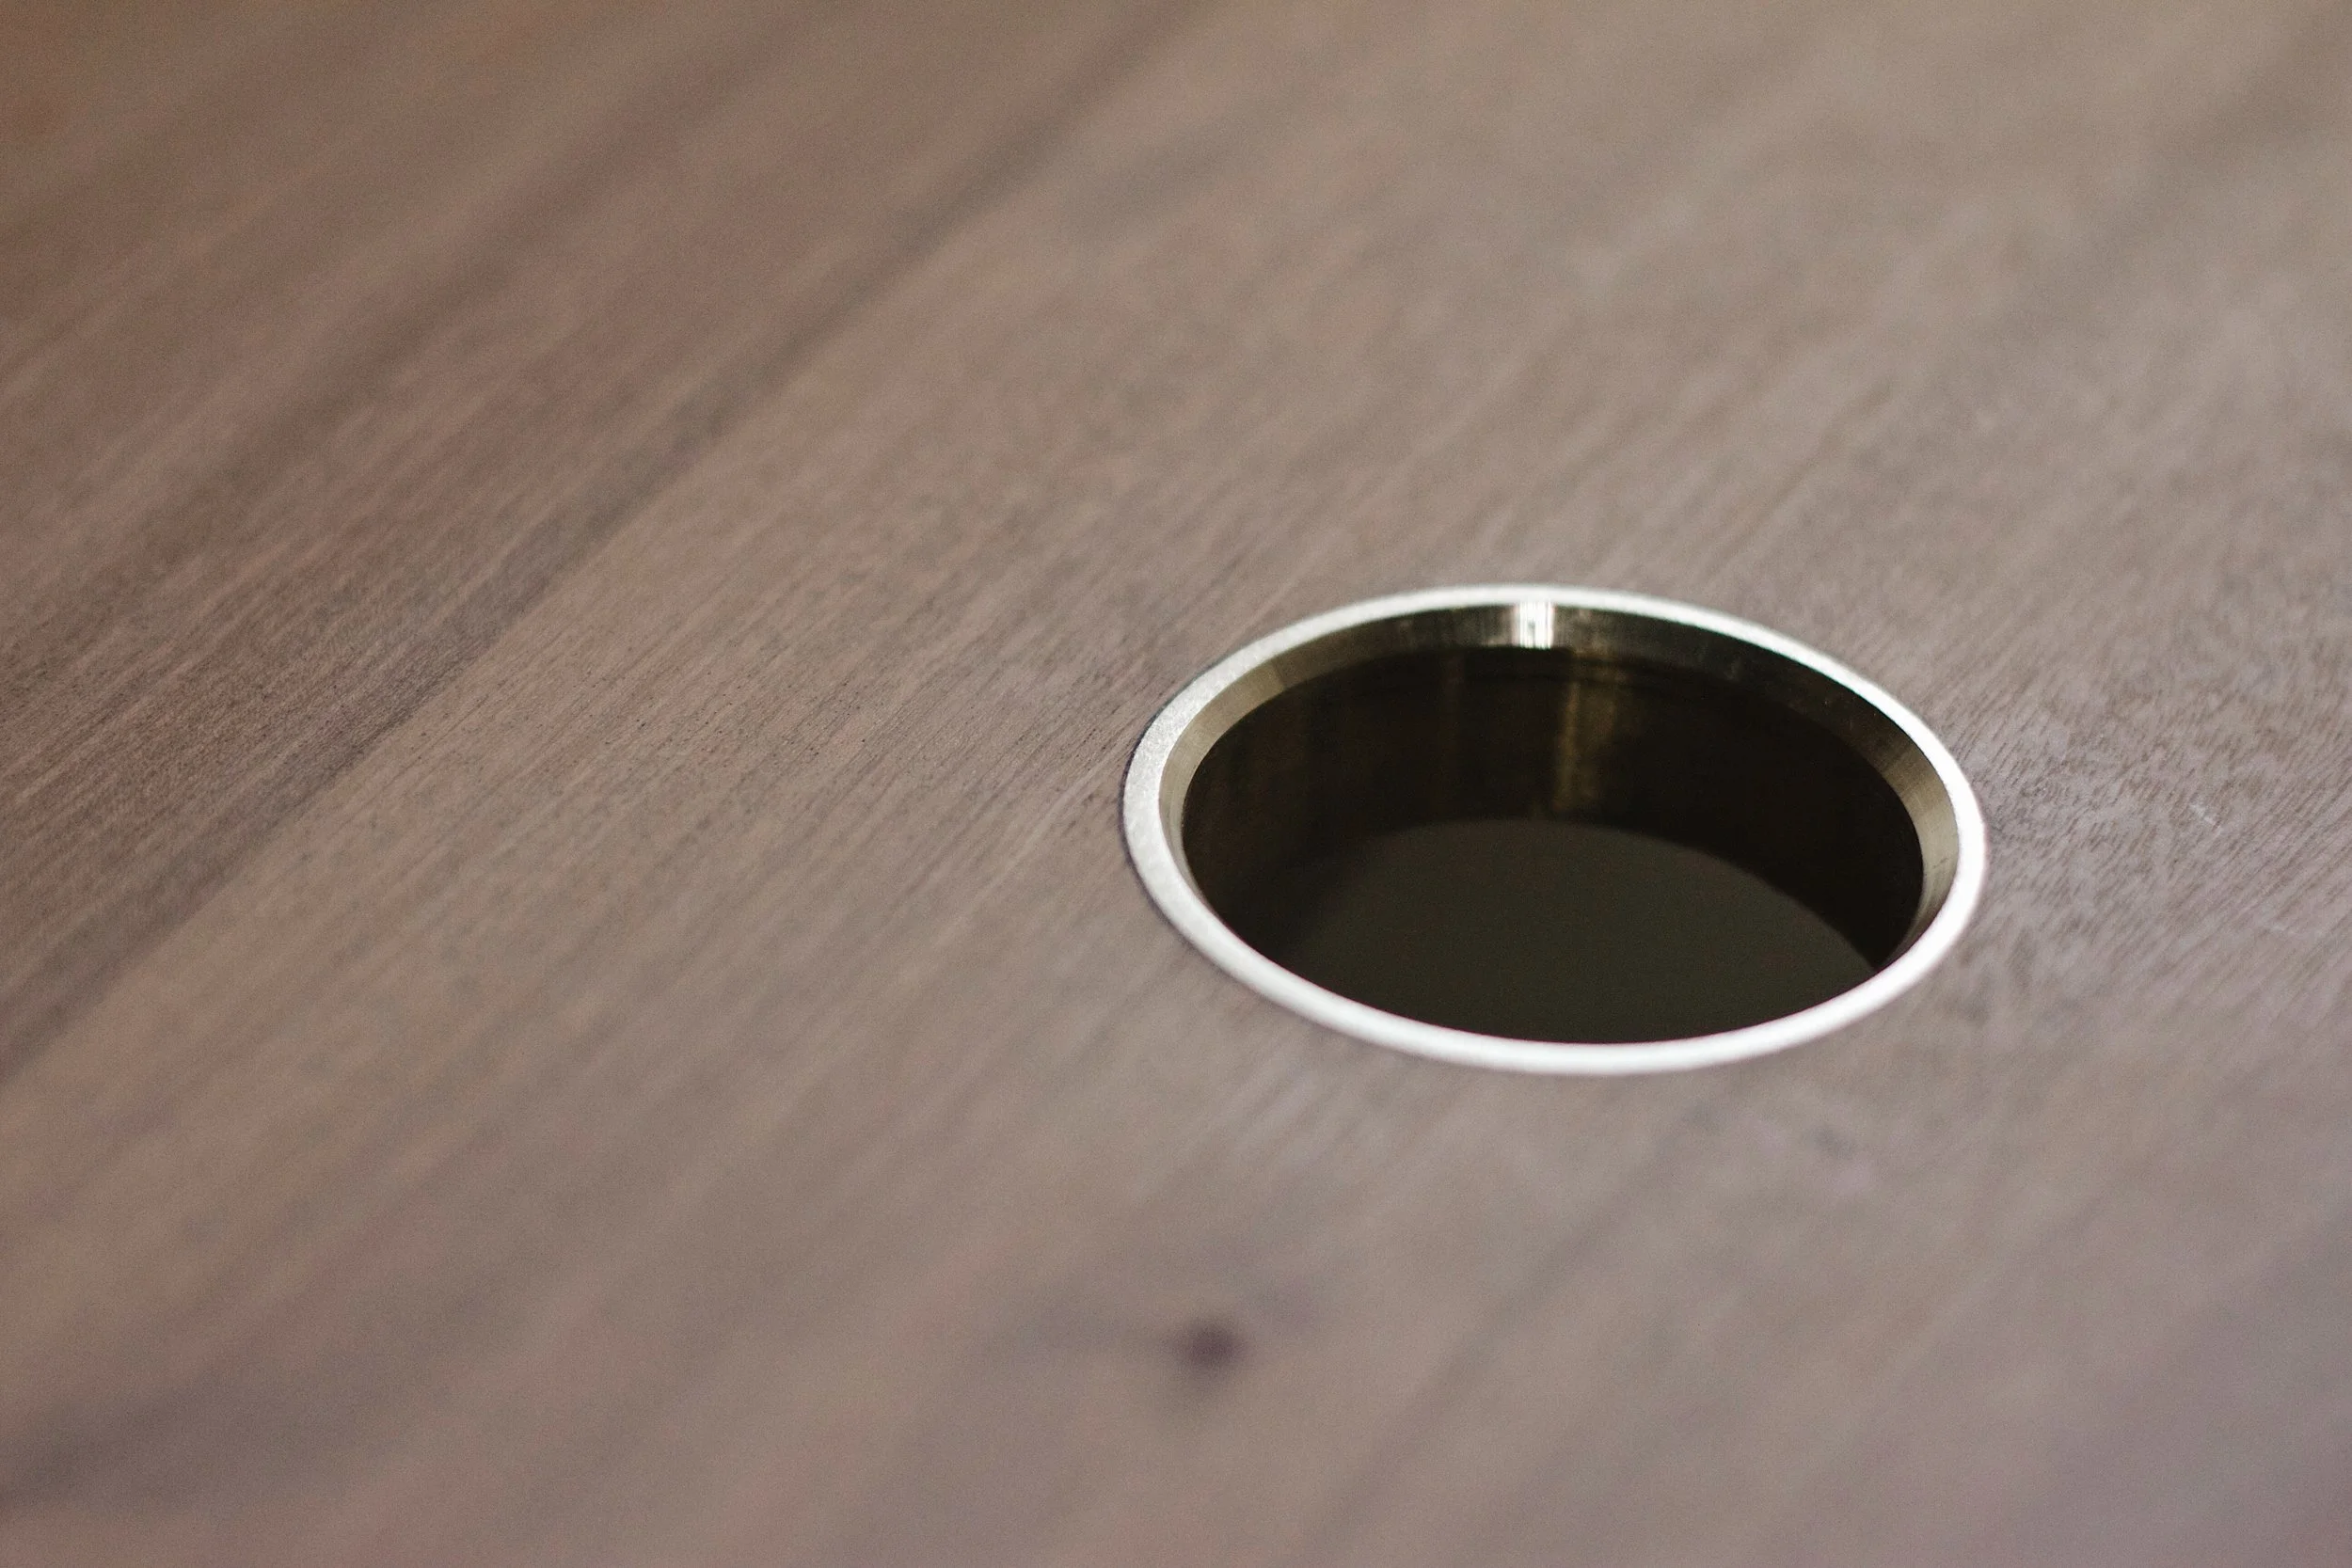
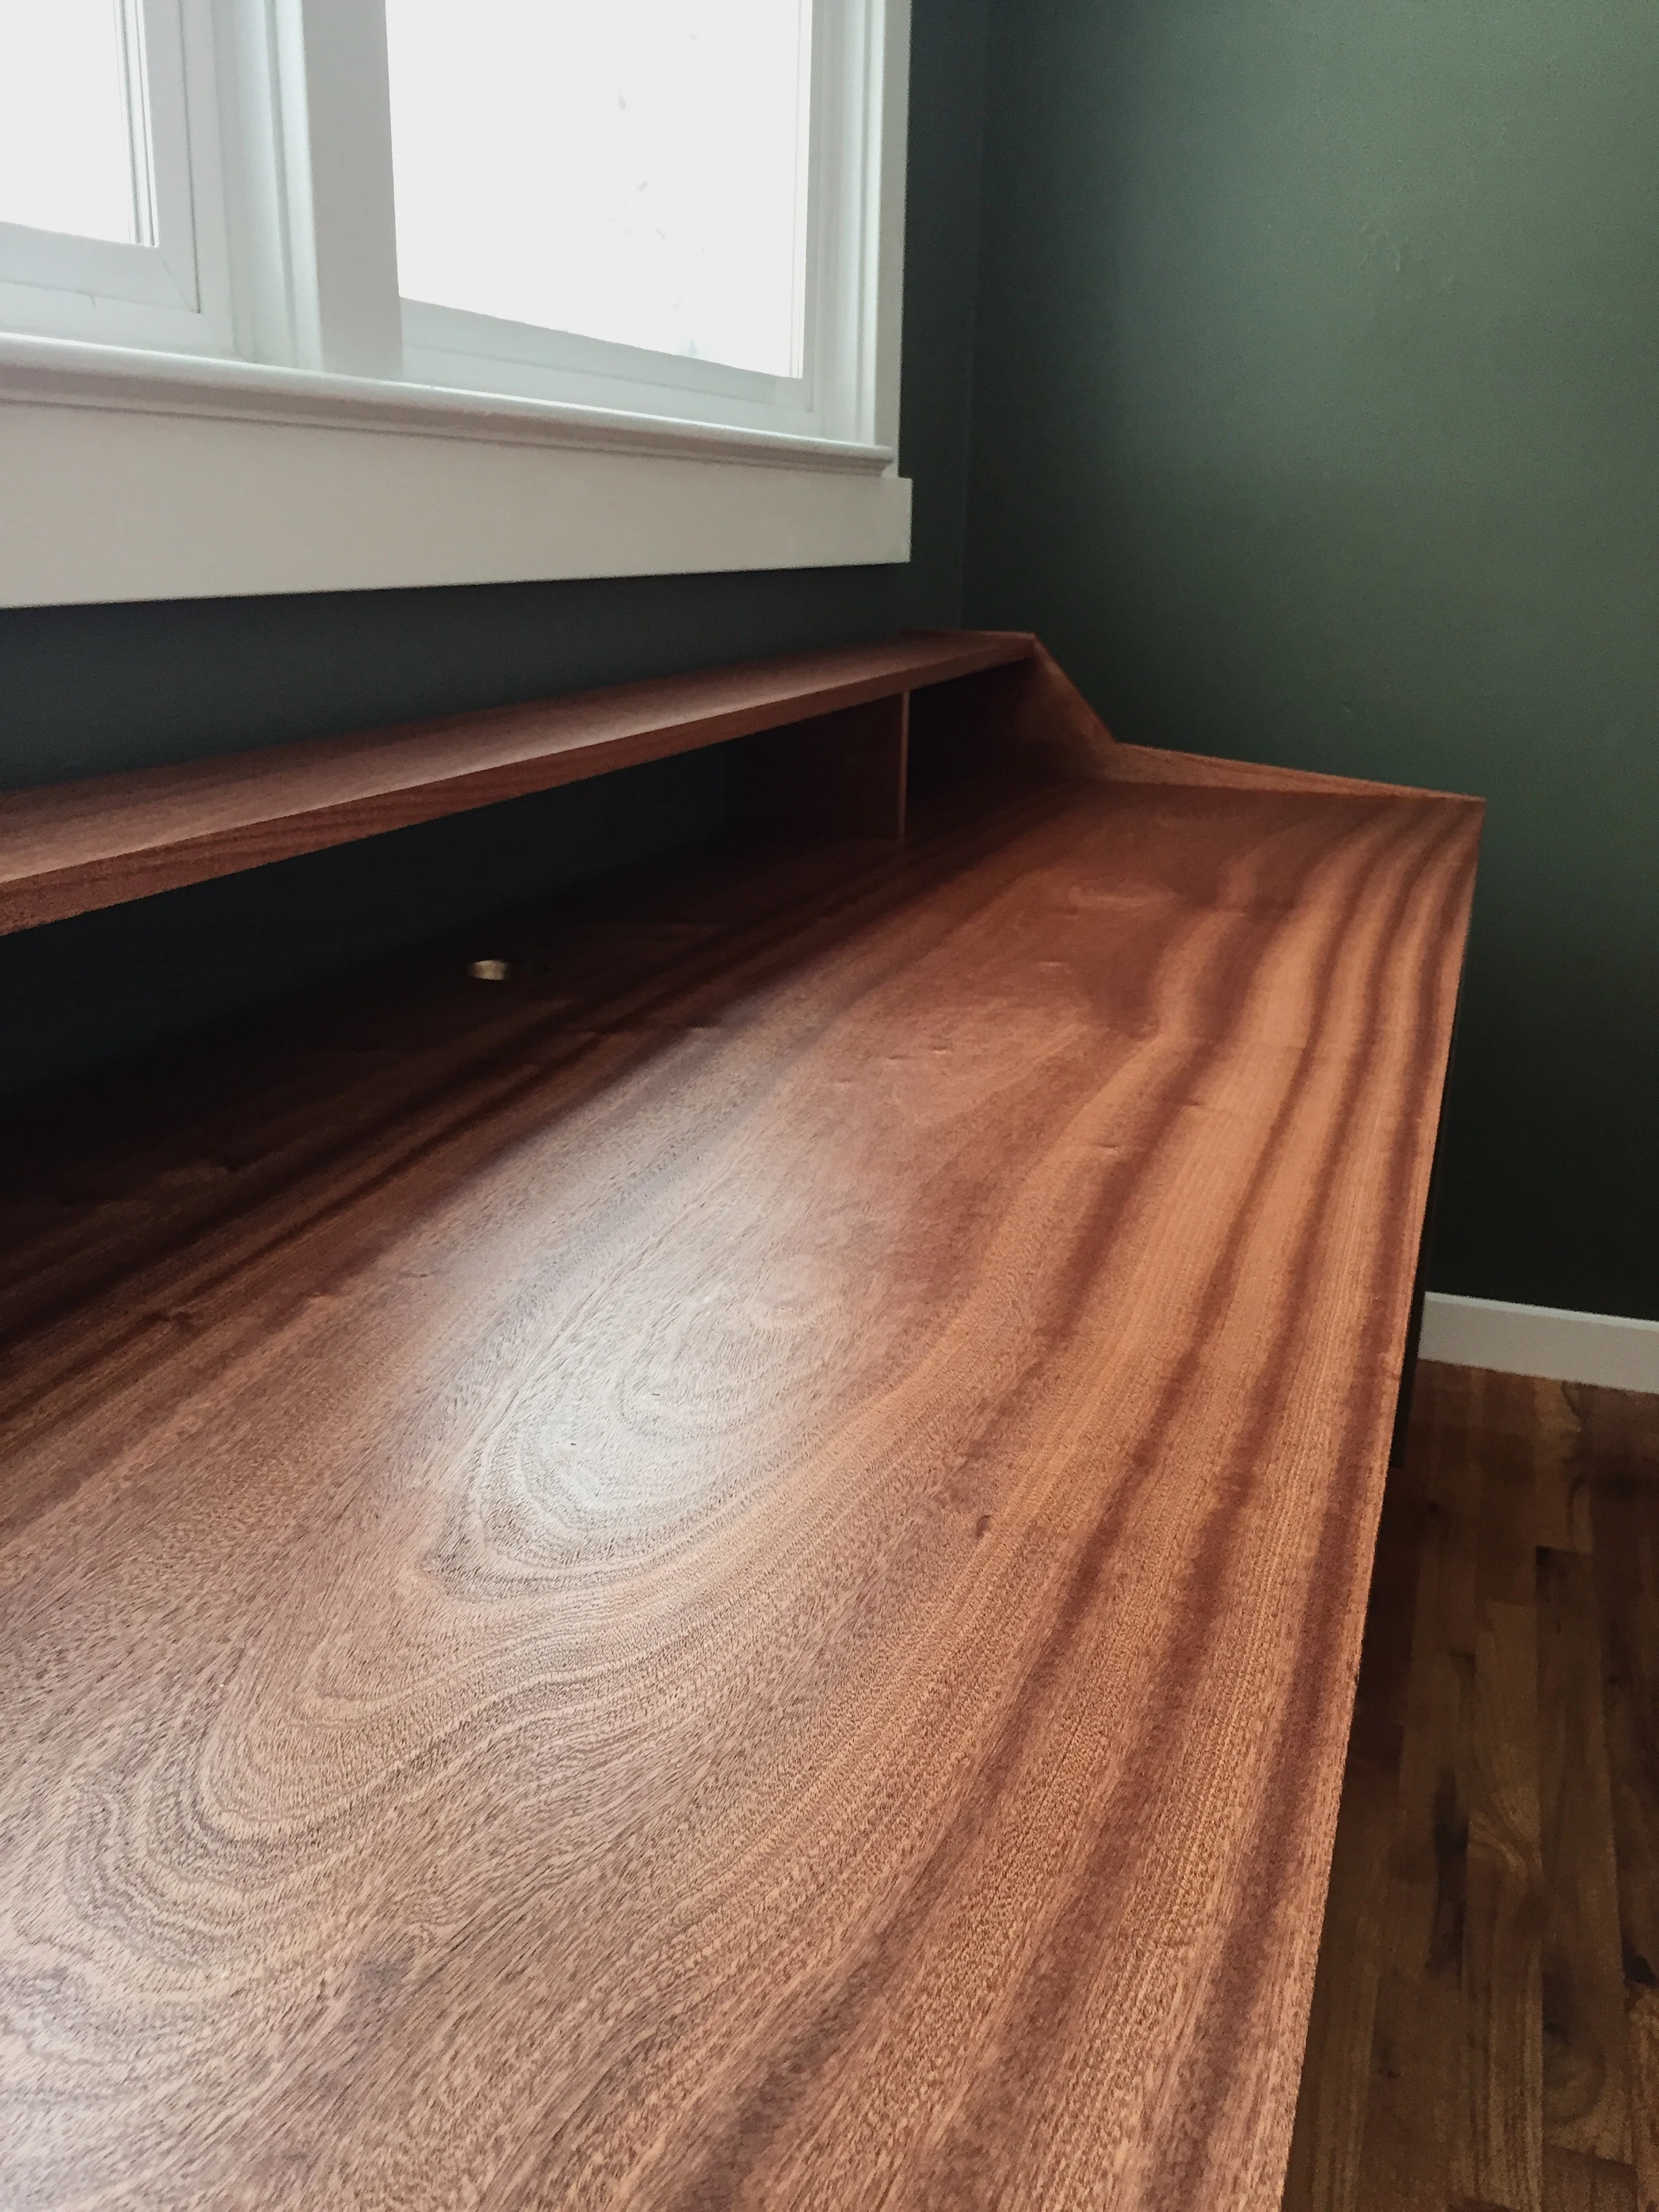
Here are just a few of the projects and process photos from my time in that space.  

SketchUp: Component Basics by Ty Howard

SketchUp offers many great tools to use when designing your projects. One tool which comes in handy when making repetitive parts is the component tool. Turning objects into components allows you to make an almost infinite number of identical pieces. Every component can then be edited by making changes to a single component within the group.This tutorial will show you the basics of making a component. 

Whether it's creating table legs, or designing the framework for a deck, components will increase your efficiency while using SketchUp. 

I hope you found this tutorial helpful, and that components become a regular part of your design process. Please feel free to leave a comment, or send me an email on what you would like to learn in SketchUp!

The Moby Collection: Moby Wall Art by Ty Howard

The Moby Collection actually started out as an experiment. I had a pile of scraps and cutoffs from recent projects which I normally would not have been able to use due to their size. I found a common usable length, 30", and a common width, 1.5" and cut every board to that size. Then, I cut small 1.5" squares out of each of the five hardwoods. 

After my pieces were cut, I put the 30" long pieces in a pile, and the 1.5" square pieces in a pile and then chose a 30" piece and two 1.5" square pieces and glued them together. I continued this random selection process until I was out of wood to use. 

When the glue was dry I took some 1/4" and 3/16" square brass rod (Gem State Metals) and using my router, I cut a recess, or dado, to receive the brass and glued the pieces in place. For this particular piece, I left it unfinished to keep the natural matte look of the hardwoods. 

Moby Wall Art

Materials

walnut + ambrosia maple + birds-eye maple + hard maple + sapele + brass 


Retro N64 Console by Ty Howard

Though most of my time spent in the shop involves building furniture, occasionally I get a creative itch to build something different. I had the idea of building a retro game console that would combine wood with technology, and what better console to use than my childhood favorite, the Nintendo 64. 

I love the look of retro televisions with their rounded screens, so it was important to include this in the project. I also like the nostalgia of having to plug in the game cartridges into the console, which is why I decided to use an actual N64 as opposed to something like a Raspberry Pi for the internal components. Since I went with the actual N64 console, this meant I had to find one as well as the games that went with it. Over the next few months, I continually checked Craigslist, thrift stores, garage sales, and flea markets to find the games of my childhood. 

Through this project I was able to hone my CNC skills, as well as try new things such as soldering and installing mortised hinges. After a few weeks worth of working on this between furniture pieces, here is the end result. 

Retro Wooden N64

Materials

walnut + brass + white phenolic stock 


Build Post: The Leroy Desk by Ty Howard

The Leroy Desk

Materials

sapele + steel + brass

Dimensions

7' L x 25.5" W/D x 30" T

This desk is the first piece in a collection I had in mind. This series of Leroy furniture will feature simple lines, mid-century design, and an emphasis on functionality for your workspace. For our home, this specific Leroy desk is 7 feet wide, which gives my wife and I plenty of space to work on the same surface. 

The natural red and brown tones of the sapele went perfectly with the dark forest green in our home office, as well as added a warm touch to our creative space. The steel legs offer the support needed for the desktop, our computers, and my wife's plants (which will stay on her side of the desk I hope) and visually the legs are simple with squared connections and keep the emphasis of your attention on the beauty of the hardwood work surface. 

Here are some photos and comments of the build process. 

From concept, to design, to a finished product, what can Howard Built make for you?   

Below are links to the tools, finishes, and suppliers used for this project. 

Boise Woodcraft


Festool TS-55

Tried and True Varnish Oil

Ridgid 5" Variable Speed Orbital Sander

Please feel free to comment or send me an email through me "Contact Us" tab in the top right corner. I would love to hear what you think! 

Howard Built by Ty Howard

Thank you for taking an interest in the our work at Howard Built LLC. Soon, in this portion of the website, you will find a multitude of posts containing things such as current projects, process photos/videos, tips, tricks, and many other things. Feel free to comment on the posts as they come, or shoot us an email by clicking on our "Contact Us" tab if you have any questions. Again, we thank you for taking an interest in our work and we are excited to share the things that we love, woodworking and design.

Ty Howard

Howard Built LLC 

howard_built_logo.jpg